
My personal experience building the ribbon speakers
Once I was in Chile, in 1990, I remembered a Danish loudspeaker project I had not been able to build there. I asked my ex-girlfriend in Copenhagen to send me as many La Folia articles as she could. She did, promptly. Thank you, Helle.
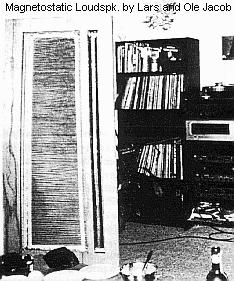
I was skeptical at first. I asked people closer to electronics than I was, and I got contradictory opinions. A close friend gave the advice I followed: just do it, and deal with the details as you meet them. You can find a million reasons not to start. There are just as many reasons to start.
The first small models
I built small models first, just to try the principle. The first one used a cardboard rectangle, kitchen plastic foil, and chocolate-paper aluminium foil as the membrane. In Chile, almost every chocolate is wrapped in waxed paper with a thin aluminium foil on it. In Denmark they use that paper for sandwiches. Add spray adhesive and a few flat magnets.
I checked the resistance and connected it to my willing NAD 3300. Many amplifiers would have objected. This one did not. Out came beautiful mids and highs, enough to start the next model, and the next. I ended with two wood-framed full-range models, 30 by 20 cm, pedestals and all. They sounded awfully sweet, with a bit of low frequency too. A glimpse of the reward, if I could scrape together the materials.
Finding the parts
The Danish notes were right. The slow part is getting hold of everything you need. In Denmark that is not such a problem. Follow the project instructions. On the other side of the world you have to find your own sources. So will you. I can still point you toward the frame and the right material.
You will also need a perforated iron plate.
More on the membrane is in the membrane chapter.